Scenario Overview
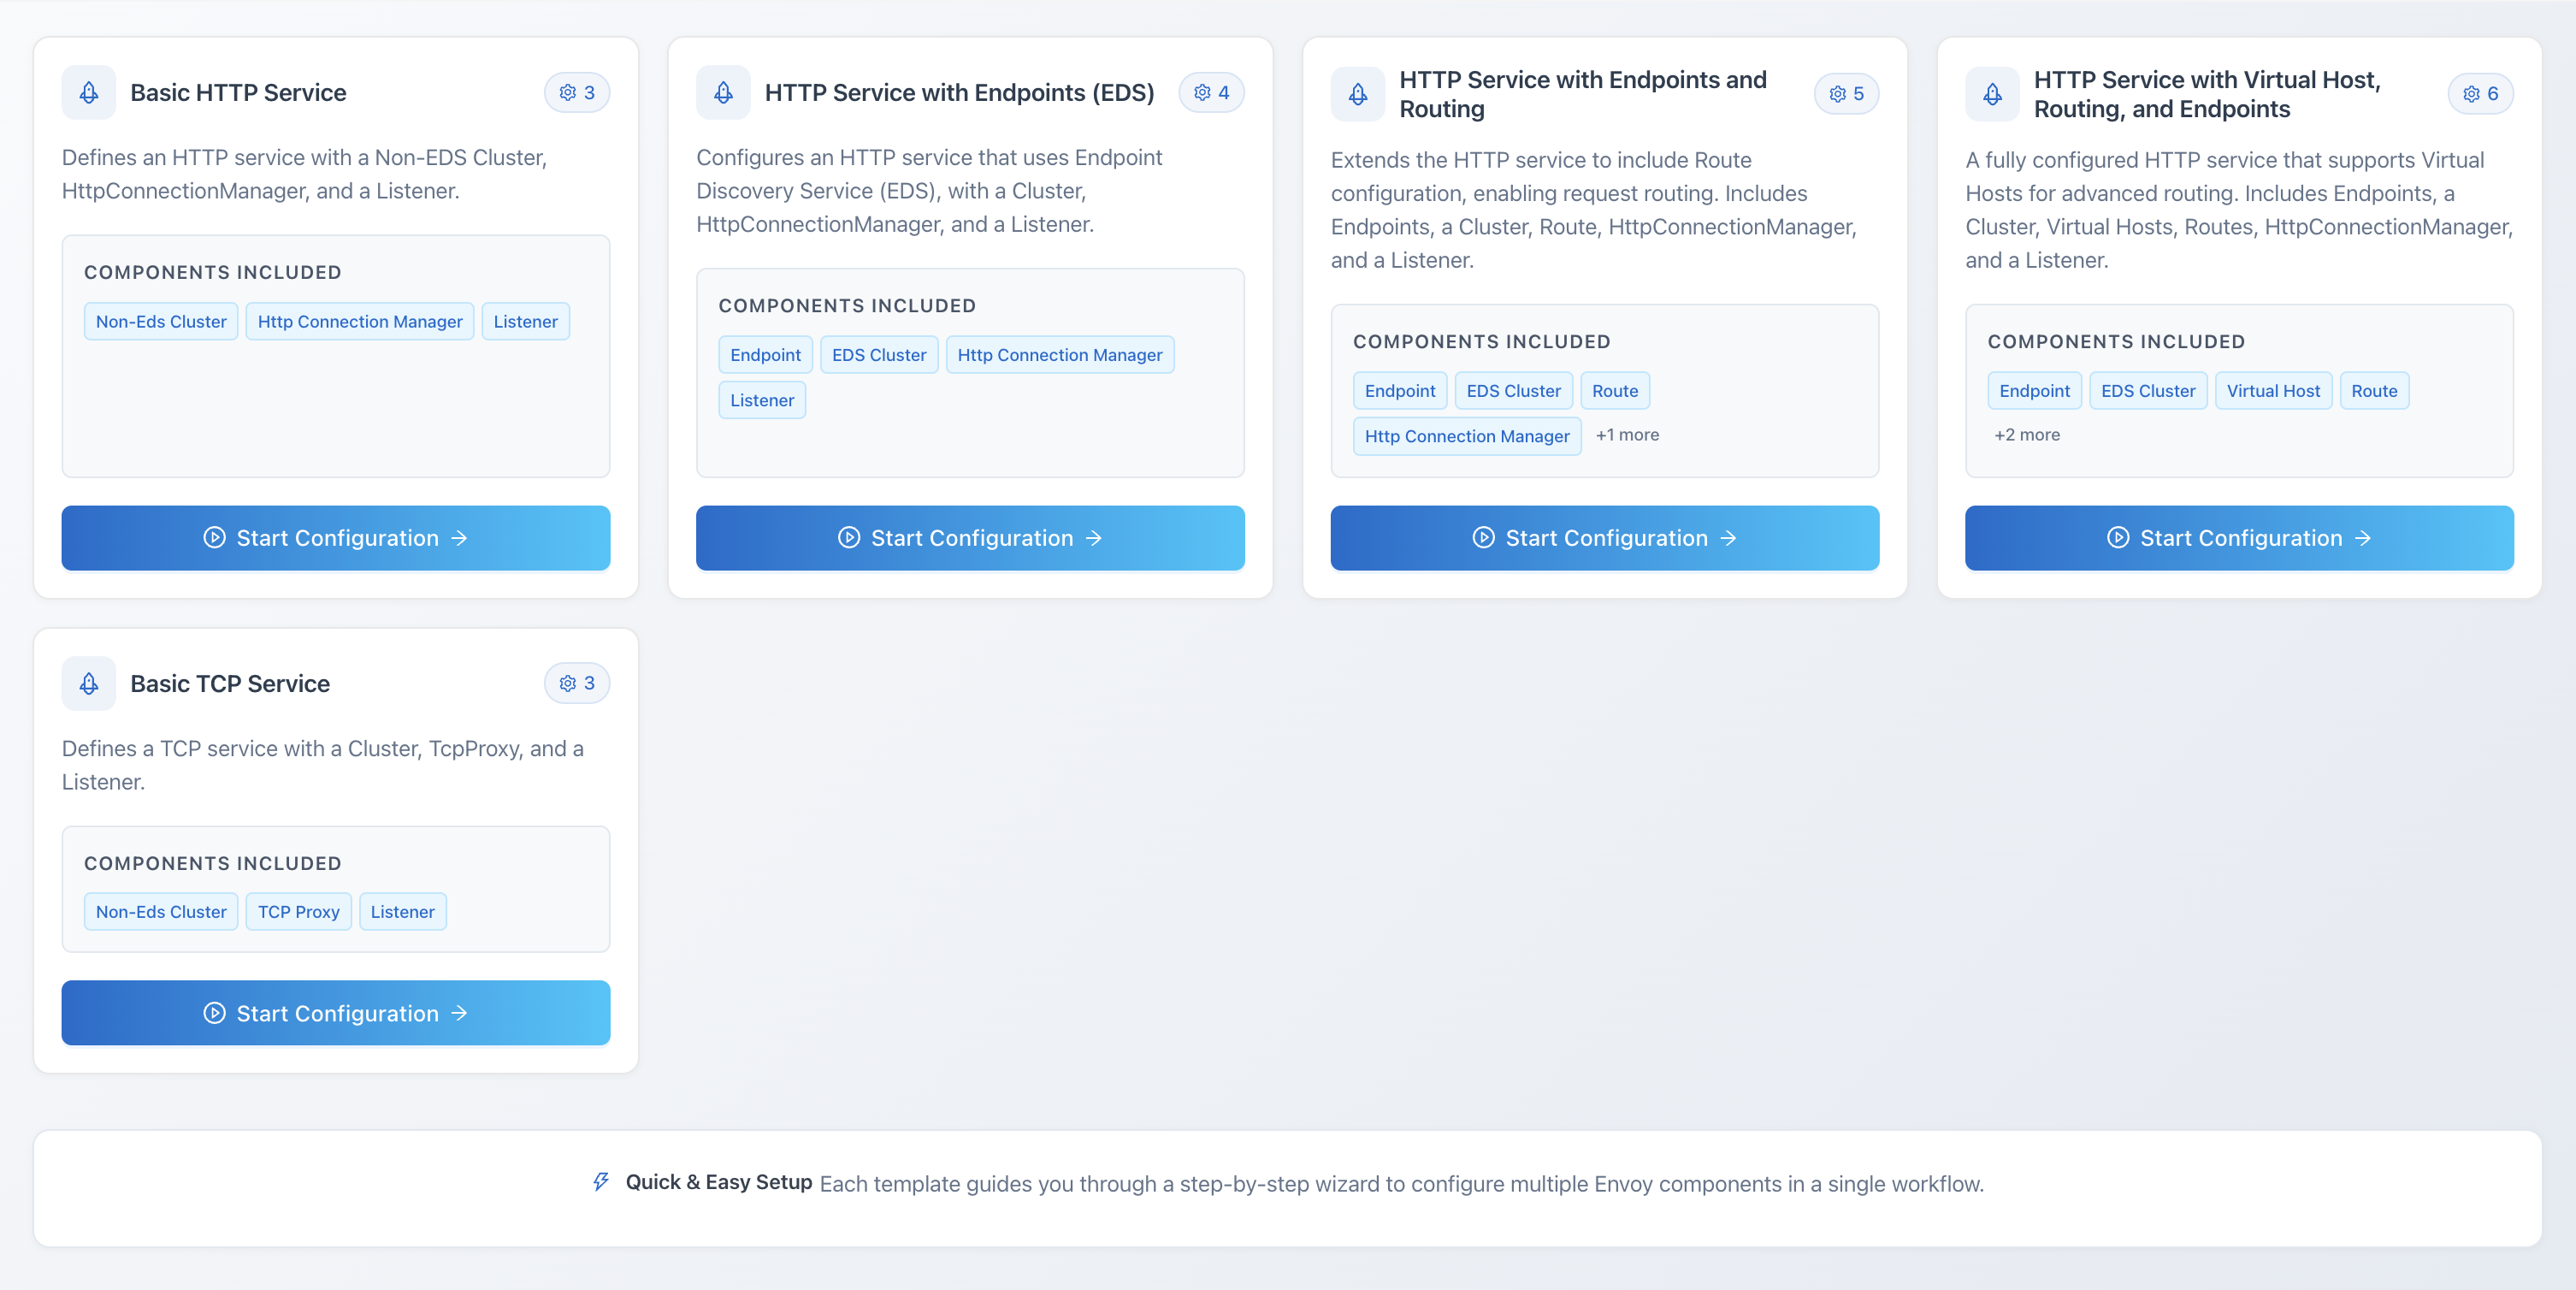
A scenario is a reusable recipe for a multi-resource Envoy configuration. Rather than creating a listener, then a filter, then a route, then a cluster, then endpoints one at a time and wiring them together yourself, a scenario captures the whole set as a single guided flow: you pick the components you need, fill in a small number of guided fields, and Elchi generates and publishes the real resources for you.
Why scenarios exist
Hand-authoring resources with the configuration model gives you full control over every field, and it is the right tool when you need something bespoke. But a lot of real configurations follow the same shape — a listener fronting an HTTP Connection Manager, a route table, a cluster, and its endpoints. Rebuilding that shape by hand every time is repetitive and easy to get subtly wrong.
The Scenario wizard exists to make that common shape fast and safe:
- Guided, not freehand. You choose from a curated set of components and only the fields that matter are exposed.
- Multi-resource in one pass. One execution creates every resource the scenario describes, in dependency order.
- Reusable. A scenario is saved and can be re-run, edited, shared, and imported into other projects.
Reach for the wizard when you are standing up a familiar pattern or onboarding a new service; drop down to hand-authored resources when you need a field the catalog doesn't expose or an unusual topology.
The component catalog
Everything the wizard can build comes from a server-provided component catalog (GET /api/v3/scenario/components). Each catalog entry describes one component type — its label, category, the collection it maps to, its Envoy gtype, a UI priority used for ordering, its available fields, and any composition rules (which components it requires or conflicts with, and min/max counts).
The supported component types include:
cluster,endpointlistener,http_connection_manager,tcp_proxyroute,virtual_hostrouter_filteraccess_log_file,access_log_stdout,access_log_fluentd
Because the catalog is served by the backend, the wizard always reflects the components the platform actually supports — no client-side list to drift out of date.
The lifecycle: build → validate → execute
Working with a scenario follows three stages, each backed by its own endpoint:
- Build. Define the scenario — its name, description, and the components with the fields you want to expose. This is the wizard at
/scenarios/create(see the wizard walkthrough). Saving stores the scenario as a reusable template. - Validate. Check that the selected components satisfy the catalog's composition rules before anything is created. Validation runs automatically at key steps and can be invoked on its own.
- Execute. Supply the runtime values (component names, target Envoy version) and generate the real resources. Execution is where a scenario turns into live listeners, routes, clusters, and endpoints. See execute and validate.
Project-scoped or global
A scenario can belong to a single project or be global. A project-scoped scenario is only visible within that project; a global scenario (created with no project attached) is available to every project, which makes it a natural home for organization-wide templates. Scenarios can also be exported and imported to move them between projects or installations.
Where to start
- New to scenarios? Begin at the Quick Start hub and the wizard walkthrough.
- Ready to apply one? See execute and validate.
- Sharing across projects? See import and export.